Garlic Butter Chicken Strips Fried: A Savory and Juicy Recipe
Garlic butter chicken strips fried are crispy on the outside, juicy on the inside, and packed with savory garlic-butter flavor. Whether you’re cooking for a weeknight dinner, meal prep, or a party, this recipe will become your go-to favorite. In this guide, we’ll explore how to prepare, season, fry, and serve the perfect garlic butter chicken strips fried.

Why You’ll Love Garlic Butter Chicken Strips Fried
- Crispy and Juicy: Perfectly seared on the outside while remaining tender and moist inside.
- Full of Flavor: A mix of Cajun seasoning, fresh garlic, and buttery herbs creates an irresistible taste.
- Quick and Easy: Ready in just 20 minutes with minimal prep and cleanup.
- Customizable Spice Level: Adjust the heat by modifying the cayenne pepper to your taste.
- Versatile: Serve with salads, pasta, or as a main dish alongside your favorite sides.
Essential Ingredients for Garlic Butter Chicken Strips Fried
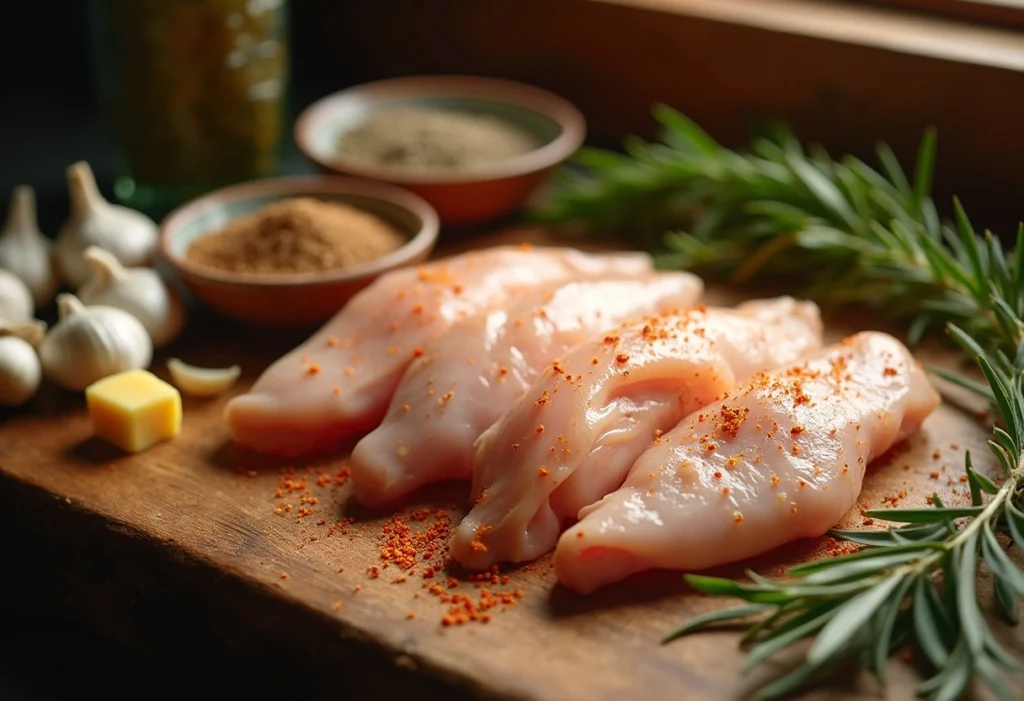
To create perfectly crispy, flavorful garlic butter chicken strips fried, you’ll need a combination of fresh ingredients and pantry staples. These essential ingredients come together to create a dish that’s savory, juicy, and packed with rich garlic-butter flavor. Let’s break down what you’ll need:
1. Chicken Strips
- Type: Boneless, skinless chicken breasts or tenderloins work best.
- Why Use It: Chicken tenderloins are naturally juicy, while chicken breasts offer a leaner option.
- Tip: Trim off excess fat and cut chicken into even strips for even cooking.
2. Butter (Unsalted)
- Why Use It: Unsalted butter gives you full control over the seasoning.
- How It Enhances Flavor: It creates a rich, creamy base for the garlic butter sauce, balancing the Cajun spices with a velvety finish.
- Tip: Use high-quality butter for a better-tasting sauce.
3. Fresh Garlic
- Why Use It: Freshly minced garlic delivers bold, aromatic flavor.
- Quantity: Use 4-5 cloves, finely minced, for maximum flavor.
- Tip: Avoid burning garlic while cooking; cook it on low heat to prevent bitterness.
4. Olive Oil
- Why Use It: Olive oil helps the seasoning stick to the chicken while ensuring a crisp, golden-brown finish when frying.
- Tip: Use extra virgin olive oil for added depth of flavor, or substitute with vegetable oil for a lighter taste.
5. Cajun Seasoning Blend
- Key Spices:
- Smoked paprika (adds smokiness and color)
- Cayenne pepper (adds heat)
- Garlic powder (enhances the garlic flavor)
- Onion powder (adds savory depth)
- Brown sugar (balances spiciness with a touch of sweetness)
- Oregano & Thyme (for earthy, herby notes)
- Salt & Black Pepper (for seasoning balance)
Tip: Adjust the cayenne pepper for more or less heat based on your spice tolerance.
6. Fresh Herbs (Parsley)
- Why Use It: Fresh parsley adds brightness and color, balancing the richness of the garlic butter sauce.
- Tip: Use freshly chopped parsley for the best flavor. Alternatively, try fresh basil or chives for a unique twist.
7. Breadcrumbs or Panko (Optional)
- Why Use It: If you prefer a crispy coating, use breadcrumbs or panko to coat the chicken strips before frying.
- How It Helps: This creates a crispy outer layer while keeping the inside tender and juicy.
- Tip: For extra crunch, toast the panko breadcrumbs lightly before using.
8. Lemon Juice (Optional)
- Why Use It: A squeeze of fresh lemon juice brightens the dish and balances the richness of the garlic butter sauce.
- Tip: Add lemon juice just before serving to preserve its zesty freshness.
9. Cooking Oil for Frying
- Type: Use a neutral, high-smoke-point oil like vegetable oil, canola oil, or peanut oil for frying.
- Tip: Preheat the oil to 350°F (175°C) for best results and avoid oil absorption.
By gathering these essential ingredients for garlic butter chicken strips fried, you’ll have everything you need to create a restaurant-quality meal in your own kitchen. These key components ensure perfectly seasoned, juicy, and crispy chicken strips every time. Enjoy this flavorful dish with your favorite sides or dipping sauces!
How to Make Garlic Butter Chicken Strips Fried
Follow these simple steps for perfectly seasoned and crispy garlic butter chicken strips fried:
1. Season the Chicken Strips
- Coat with Olive Oil: Drizzle the chicken strips with olive oil, ensuring an even coat.
- Season Generously: Sprinkle 2-3 tablespoons of Cajun seasoning over both sides of the chicken strips, adjusting the amount based on your spice tolerance.
Related Tip: Read more about seasoning chicken effectively in Can I Put Raw Chicken in My Air Fryer?.

2. Sear the Chicken Strips
- Heat the Skillet: Warm 2 tablespoons of olive oil in a large skillet over medium heat.
- Cook the Chicken: Add the seasoned chicken strips to the pan without overcrowding (cook in batches if needed).
- Sear Each Side: Cook for 2-3 minutes per side or until golden brown and fully cooked (internal temperature of 165°F/75°C).
3. Make the Garlic Butter Sauce
- Lower the Heat: Reduce the heat to low and move the chicken strips to one side of the skillet.
- Melt the Butter: Add 4 tablespoons of butter to the empty side of the skillet.
- Cook the Garlic: Stir in 5 cloves of minced garlic and cook until fragrant (30 seconds), being careful not to burn it.
4. Toss and Serve the Chicken Strips
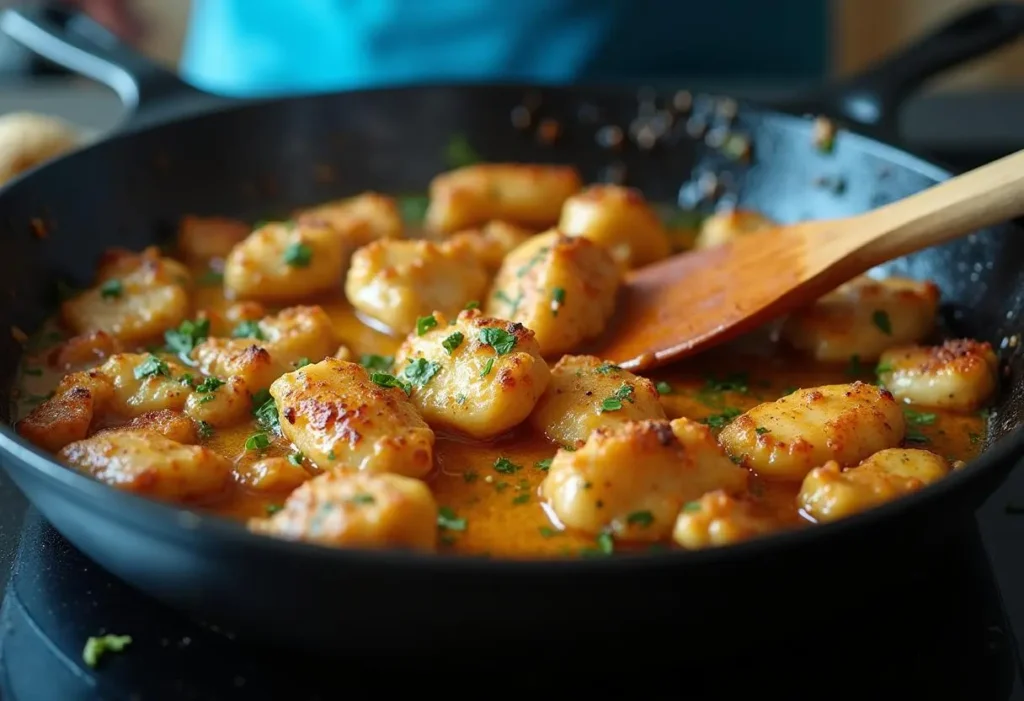
- Coat in Sauce: Toss the chicken strips in the garlic-butter sauce until fully coated.
- Add Fresh Herbs: Sprinkle 2 tablespoons of freshly chopped parsley over the chicken strips for a burst of freshness.
- Serve Hot: Enjoy immediately with your favorite sides and sauces.
Serving Suggestions for Garlic Butter Chicken Strips Fried
These garlic butter chicken strips fried pair well with many sides, making them perfect for a complete meal or appetizer spread:
Best Side Dishes for Garlic Butter Chicken Strips Fried:
- Buttery Mashed Potatoes: A creamy, hearty side.
- Roasted Vegetables: Try carrots, zucchini, or green beans.
- Crispy French Fries: A classic, crispy pairing.
Recommended Read: Check out Chicken Fries in the Air Fryer for more air-fried side ideas.
Salad Ideas for Garlic Butter Chicken Strips Fried:
- Caesar Salad: Add protein and flavor to this classic salad.
- Garden Salad: Fresh greens with a light vinaigrette balance the dish’s richness.
Dipping Sauces:
- Garlic Aioli: For extra garlic flavor.
- BBQ Sauce: Adds a smoky, sweet twist.
- Spicy Mayo: For a touch of heat.

Storage and Reheating Tips for Garlic Butter Chicken Strips Fried
Proper storage and reheating methods are essential to maintaining the crispy texture and juicy flavor of garlic butter chicken strips fried. Whether you’re saving leftovers for a quick meal or prepping ahead, these tips will help you preserve the dish’s delicious taste and texture.
1. How to Store Garlic Butter Chicken Strips Fried Properly
Storing your garlic butter chicken strips fried the right way ensures they remain fresh and flavorful until you’re ready to enjoy them again. Follow these steps for both short-term and long-term storage:
Refrigeration for Short-Term Storage
- Best Practice: First, allow the chicken strips to cool completely to prevent moisture buildup. Then, place them in an airtight container or zip-top bag.
- Refrigeration Time: Store in the refrigerator for up to 4 days for maximum freshness.
- Pro Tip: To keep the crispy texture intact, consider storing the garlic butter sauce separately in a small airtight container. This prevents the chicken from becoming soggy when reheated.
Freezing for Long-Term Storage
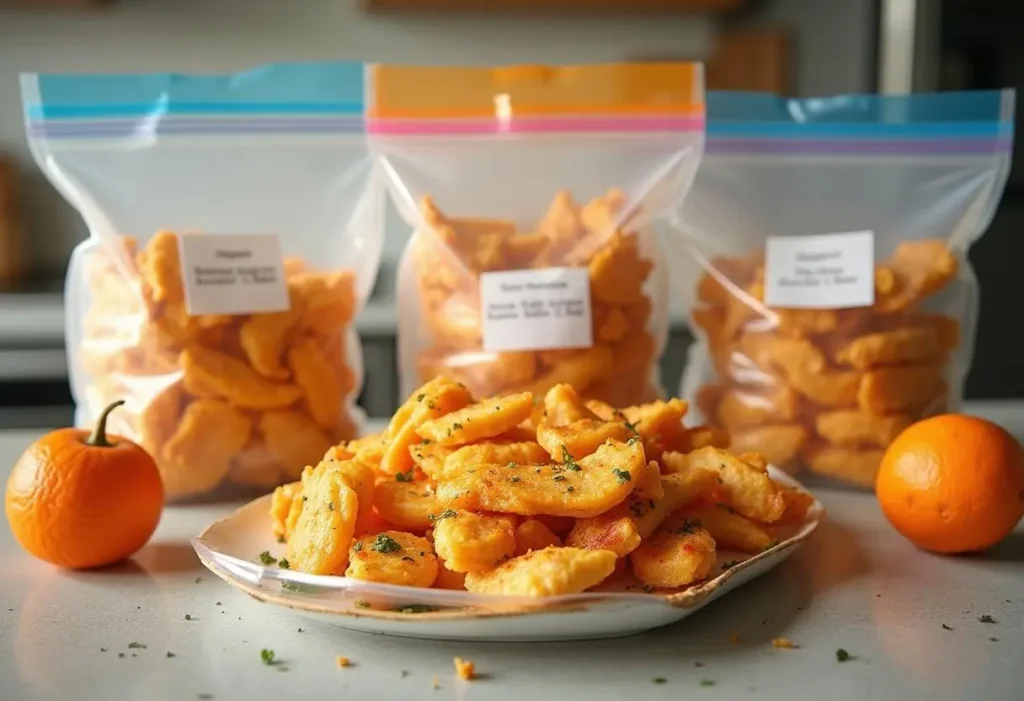
- Best Practice: Allow the chicken strips to cool completely before freezing. Arrange them in a single layer on a baking sheet and freeze for 1-2 hours until firm. Once frozen, transfer the strips to a freezer-safe bag or container.
- Freezer Storage Time: Store in the freezer for up to 3 months for the best taste and texture.
- Pro Tip: Use a permanent marker to label the container with the date to help you keep track of how long they’ve been stored.
2. How to Reheat Garlic Butter Chicken Strips Fried for Best Results
Reheating your garlic butter chicken strips fried the right way ensures that they remain crispy on the outside while staying juicy on the inside. Depending on your available kitchen tools, use one of these methods:
Skillet Reheating for Maximum Crispiness
- Why Use This Method: This method is ideal for restoring the chicken’s crispy coating while keeping the interior moist.
- How To:
- Heat a non-stick skillet over medium heat.
- Add a small amount of oil or butter to prevent sticking.
- Place the chicken strips in the skillet and cook for 3-4 minutes per side, or until heated through and crispy.
- Pro Tip: Toss the strips in freshly made garlic butter sauce while reheating for extra flavor and moisture.
Oven or Air Fryer Reheating for Large Batches
If you’re reheating multiple garlic butter chicken strips fried, the oven or air fryer is the best option. These methods restore the crispy coating while ensuring even heating.
Oven Reheating Method
- Best For: Large batches of chicken strips.
- How To:
- Preheat the oven to 375°F (190°C).
- Arrange the chicken strips on a baking sheet lined with parchment paper or foil.
- Heat for 10-12 minutes, flipping halfway through, until golden brown and heated through.
- Pro Tip: Use a wire rack on the baking sheet for better airflow, ensuring even crisping.
Air Fryer Reheating Method
- Best For: Restoring crispiness with minimal oil.
- How To:
- Preheat the air fryer to 380°F (195°C).
- Place the chicken strips in a single layer in the air fryer basket to allow even airflow.
- Cook for 5-7 minutes, flipping halfway through for even reheating.
- Pro Tip: Avoid overcrowding the basket to maintain crispiness.
Microwave Reheating for Quick Results
If time is limited, you can reheat garlic butter chicken strips fried in the microwave. While this method isn’t ideal for maintaining crispiness, it works well in a pinch.
- How To:
- Place the chicken strips on a microwave-safe plate.
- Cover with a damp paper towel to retain moisture and prevent drying out.
- Heat on medium power for 1-2 minutes, checking halfway through for even heating.
- Pro Tip: If you’re using this method, consider tossing the reheated strips in fresh garlic butter sauce to enhance their flavor.
3. Extra Tips for Maintaining Crispiness and Flavor
To ensure your reheated garlic butter chicken strips fried remain crispy and delicious, keep these additional tips in mind:
- Avoid Overcrowding: Reheat chicken strips in a single layer to allow proper airflow and prevent sogginess.
- Use a Wire Rack: Reheating the strips on a wire rack ensures heat reaches all sides, maintaining crispness.
- Refresh the Sauce: If the garlic butter sauce has dried out, make a fresh batch and toss the reheated strips for extra moisture and bold flavor.
- Serve Immediately: For the best taste and texture, serve the reheated chicken strips right away while they are hot and crispy.
FAQ Section: Frying Garlic Butter Chicken Strips Fried
1. How Long Should You Fry Chicken Strips?
The frying time depends on the thickness of the chicken strips and the cooking method:
Pan-Frying: Cook for 3-4 minutes per side over medium heat until golden brown and fully cooked.
Deep-Frying: Fry at 350°F (175°C) for 6-8 minutes until crispy and cooked through.
Air Frying: Cook at 400°F (200°C) for 12-15 minutes, flipping halfway.
2. Is It Better to Fry Chicken in Butter or Oil?
For best results, use a combination of butter and oil when frying chicken strips:
Butter: Adds rich flavor but burns quickly at high heat.
Oil: High-smoke-point oils like vegetable, canola, or peanut oil prevent burning.
3. How Do You Keep Chicken Strips Juicy When Frying?
To keep chicken strips juicy and tender:
Marinate the Chicken: Use a buttermilk or seasoned marinade for at least 30 minutes to 2 hours.
Don’t Overcook: Fry until the internal temperature reaches 165°F (75°C)—avoid cooking longer to prevent drying out.
Rest After Cooking: Let the chicken rest for 5 minutes after frying to lock in juices.
4. How Do You Get Batter to Stick to Chicken Strips?
To ensure the batter sticks firmly to the chicken strips:
Pat Dry: Remove excess moisture from the chicken by patting it dry with paper towels.
Use a Dredging Station: Set up three bowls for flour, egg wash, and breadcrumbs or panko.
Coat Evenly: Dip the chicken first in flour (for grip), then in egg wash (for binding), and finally in breadcrumbs or panko (for crispiness).
Chill Before Frying: Let the coated chicken rest for 15-20 minutes in the refrigerator to set the batter.


