How Do You Get Batter to Stick to Chicken Strips
Getting your chicken strips to be crispy and golden is a fun challenge. How do you get batter to stick to chicken strips? It’s perfect for family meals or impressive appetizers. To ensure your batter sticks well, follow our expert guide. We’ll cover the basics, share essential tips, and explain how to fix common problems for the best frying results.
With these proven techniques, your chicken strips will always have a delicious, crispy outside and a tender, juicy interior. Say goodbye to uneven coatings and hello to perfectly fried chicken strips every time!
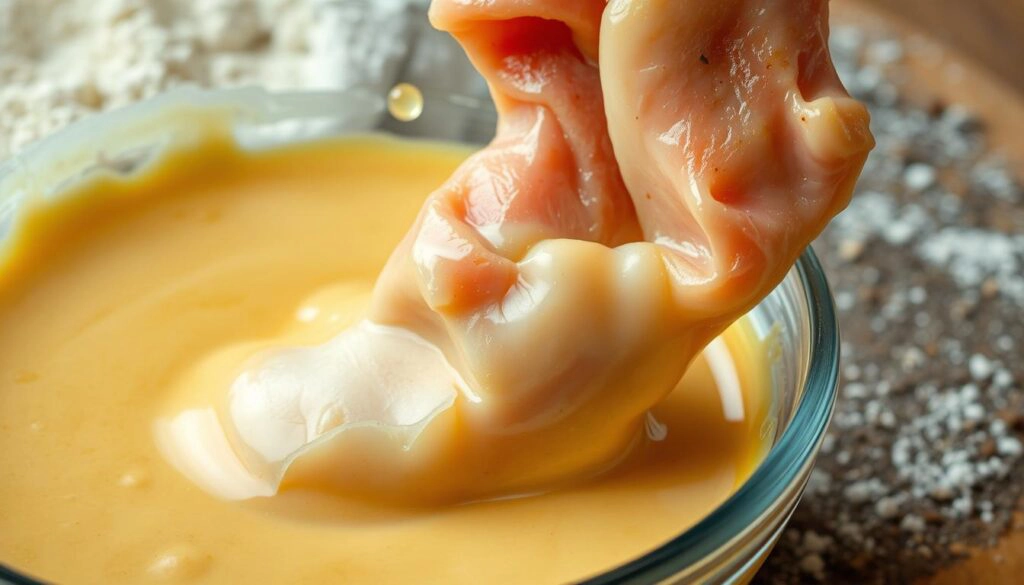
Understanding the Basics of Chicken Strip Battering
To get the perfect crispy and tasty chicken strips, mastering battering is key. The batter ingredients are the heart of this process. They affect the texture, look, and taste of your dish. Let’s look at the main parts and some common battering mistakes to steer clear of for chicken strip prep.
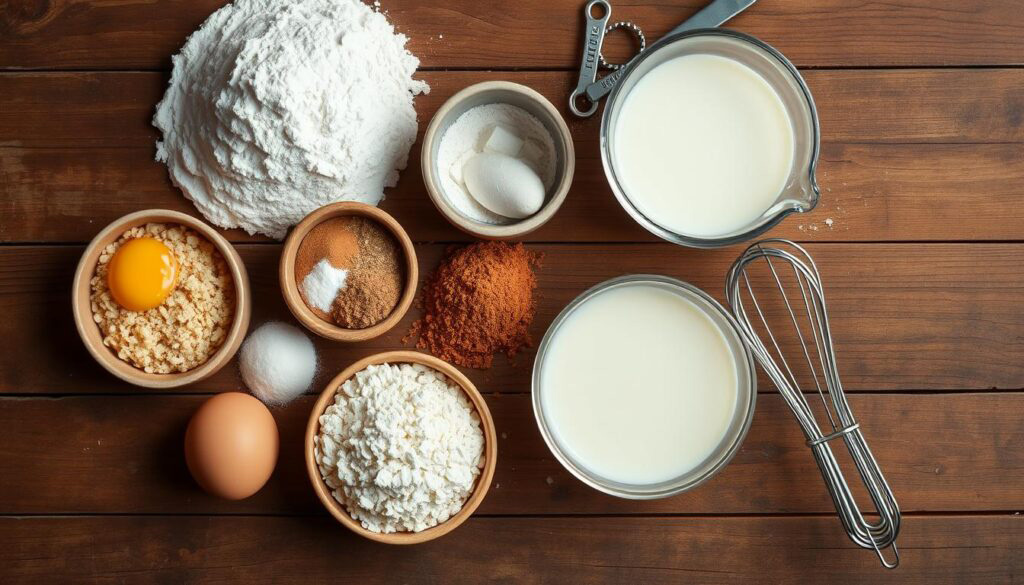
Essential Ingredients for Perfect Batter
A great batter starts with a mix of:
- Flour – It gives structure and makes the coating crispy.
- Cornstarch or baking powder – They make it crispier and lighter.
- Eggs – They help the batter stick to the chicken.
- Milk or buttermilk – They add moisture and richness.
- Seasonings – Salt, pepper, and spices for flavor.
The right mix of these batter ingredients is crucial. It greatly affects the final dish, so finding the perfect balance is key.
Common Battering Mistakes to Avoid
Some common battering mistakes to watch out for include:
- Overmixing the batter, making it tough and dense.
- Using batter that’s too thin or too thick, causing uneven coverage or a heavy crust.
- Not chilling the batter before frying, leading to a less crispy texture.
- Not cleaning and drying the chicken strips before battering, causing the coating to fall off.
- Frying the chicken at the wrong temperature, resulting in underdone or burnt batter.
Knowing these battering mistakes and focusing on the right batter ingredients will help you make delicious chicken strips every time.
The Science Behind How Batter Sticks to Chicken Strips
Getting a crispy and evenly coated chicken strip is all about the science of batter adhesion. Knowing about protein bonding and surface tension is key. It helps you make a batter that sticks well to your chicken strips, making every bite a joy.
The secret to good batter adhesion is how proteins in the batter bond with the chicken’s surface proteins. This creates a strong and cohesive coating. The right control of surface tension also helps the batter stick to the chicken without falling off.
| Batter Adhesion Factor | Explanation |
|---|---|
| Protein Bonding | The interaction between the proteins in the batter and the proteins on the chicken’s surface, creating a strong bond. |
| Surface Tension | The cohesive force that helps the batter adhere to the chicken’s surface, preventing it from sliding off or beading. |
By grasping the food science behind batter adhesion, you can perfect your battering technique. This ensures your chicken strips are always crispy and well-coated. With this knowledge, you’ll make chicken tenders that everyone will love.
👉 Related Reading: For more tips on achieving the perfect fried chicken texture, check out our guide on How Do You Keep Chicken Tenders Juicy When Frying? to ensure your chicken stays moist and flavorful while maintaining a crispy exterior.
How to Prepare Chicken Strips for Perfect Battering
Getting your chicken strips ready is key to a crispy and tasty batter. You need to clean and dry them right, and know the best temperature and cutting methods. These steps are crucial for a great batter.
Proper Cleaning and Drying Techniques
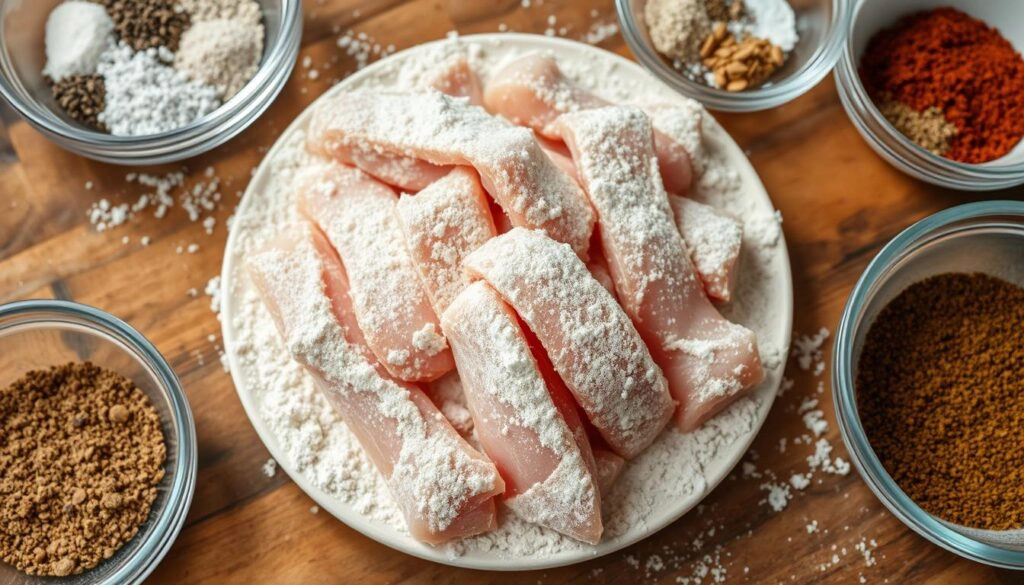
Start by cleaning your chicken strips well. Take off any extra fat, skin, or connective tissue. This helps the batter stick better. Rinse them under cool water, then dry with paper towels or a clean cloth.
Drying them well is important. It stops the batter from getting soggy.
Temperature Considerations
The chicken should be between 40°F and 45°F before battering. This temperature ensures it cooks evenly. It also prevents the batter from burning before the chicken is fully cooked.
Let the chicken sit at room temperature for 15-20 minutes. This helps it reach the perfect temperature for battering.
Cutting and Sizing Tips
- Cut the chicken into strips that are 1-inch wide and 3-4 inches long. This makes sure they cook evenly and get a good batter coat.
- Use a sharp knife or kitchen shears for clean cuts. Avoid cuts that are jagged, as they can make the batter stick unevenly.
- Make sure the chicken strips are about 1/4 to 1/2 inch thick. This is the best thickness for texture and cooking time.
| Cutting Technique | Benefit |
|---|---|
| Uniform Sizing | Ensures even cooking and batter coverage |
| Clean, Straight Cuts | Promotes better batter adhesion |
| Thickness Consideration | Achieves the perfect texture and cooking time |
By following these tips for chicken strip preparation, meat temperature, and chicken cutting techniques, you’ll get a batter that’s both crispy and delicious.
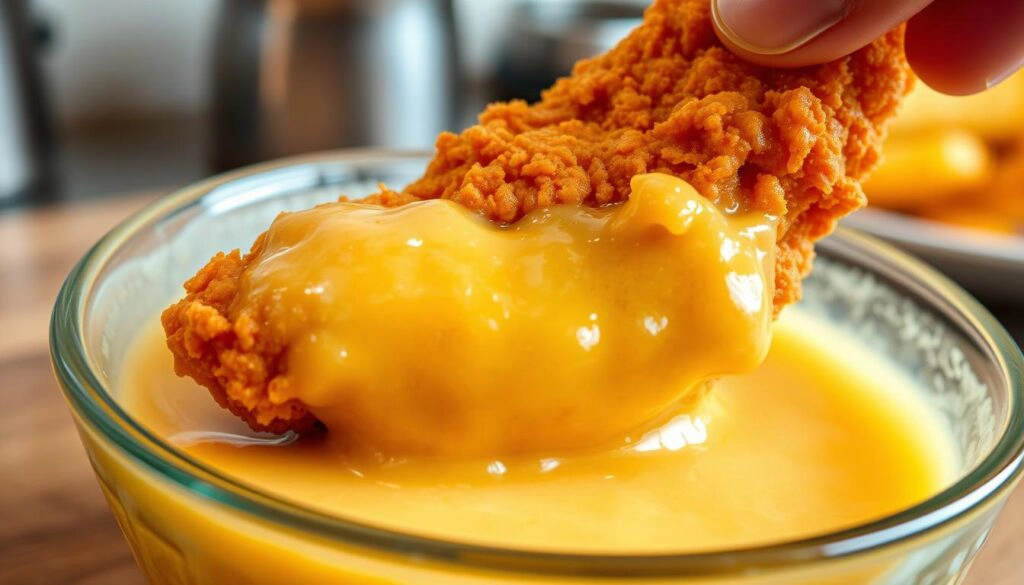
How Do You Get Batter to Stick to Chicken Strips?
Getting the batter to stick to chicken strips is key for crispy, tasty chicken. There are many ways to make sure the batter stays on the chicken while it cooks. Let’s look at some top batter adhesion techniques, coating methods, and tips for the right batter consistency.
First, you need to dredge the chicken right. Coat the chicken lightly with something dry, like flour or cornstarch. This makes the surface rougher, helping the batter stick better. Also, letting the chicken sit for 10-15 minutes after dredging helps the batter stick even more.
Keeping the right temperatures is also key. The batter should be between 50-60°F, and the oil should be 350-375°F. If the batter is too cold, it won’t stick. If it’s too warm, it gets too thin. So, keep these temperatures in mind for the best results.
| Batter Adhesion Technique | Description |
|---|---|
| Dredging | Lightly coating the chicken in a dry ingredient, like flour or cornstarch, before battering. |
| Resting Time | Allowing the dredged chicken to rest for 10-15 minutes before battering. |
| Temperature Control | Maintaining the batter and oil at the ideal temperatures (50-60°F for batter, 350-375°F for oil). |
By using these batter adhesion techniques, coating methods, and batter consistency tips, you’ll make chicken strips that everyone will enjoy.
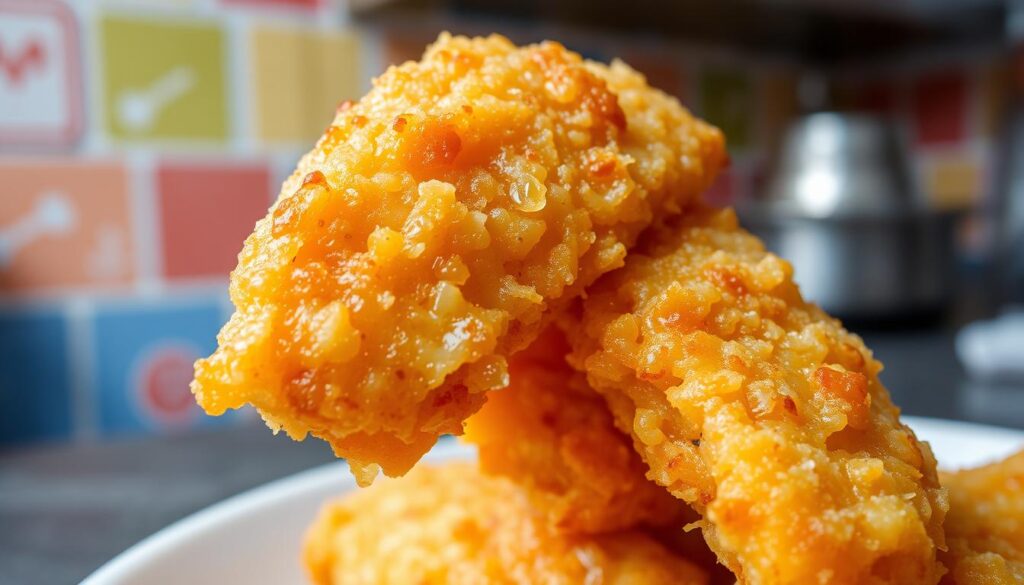
Creating the Perfect Batter Consistency
Getting the right batter consistency is key for even chicken strip coating. It’s all about balancing wet and dry ingredients and keeping the temperature just right.
Wet vs. Dry Ingredient Ratios
The mix of wet and dry ingredients affects your batter’s final look. Too much liquid makes it too thin, while too little makes it thick and clumpy. Aim for a 1:1 to 1:2 wet to dry ratio. This will help you get the perfect thickness and stickiness.
Temperature Control Methods
- Keep your batter between 50-70°F (10-21°C) for the best consistency. This prevents it from separating or clumping.
- If the batter gets too warm, cool it down with ice or a cooler. If it’s too thick, warm it up a bit to get it right.
- Watch the temperature closely. Sudden changes can mess up the coating on your chicken strips.
Mastering batter consistency leads to perfect chicken strip coatings every time. It’s all about the right ingredient ratios and keeping the temperature control spot on.
Mastering the Double-Dredging Technique for Crispy Chicken Strips
How do you get batter to stick to chicken strips? The double-dredging technique is a game-changer for achieving a crispy, restaurant-quality coating. This two-step battering process ensures the coating stays on while adding a crunchy, golden texture.
This method creates a strong, textured coating that sticks to the chicken. It makes your homemade crispy chicken strips taste like they’re from a restaurant.
- Start by cleaning and drying your chicken strips. This makes the batter stick better.
- Make a flavorful flour mixture for the first dredge. Coat the chicken strips evenly with it.
- Dip the flour-coated chicken in a batter mix. This second coating makes the exterior crispy.
- Fry the chicken strips in hot oil. Make sure the oil is at the right temperature for even cooking.
- Cook the chicken until it’s golden brown. This means it’s perfectly cooked and crispy.
The secret to this technique is the mix of flour and batter. The flour helps the batter stick, and the batter makes the shell crispy. This way, your chicken strips look great and taste amazing.
“The double-dredging technique is a must-try for anyone who wants to elevate their crispy chicken strip game to the next level.”
Essential Tips for Keeping Chicken Tenders Juicy When Frying
To get your juicy chicken tenders just right, you need to focus on frying techniques. Here are some key tips to help you fry chicken strips perfectly. They’ll stay juicy and delicious.
Oil Temperature Management
Keeping the oil at the right temperature is key for juicy chicken tenders. The best temperature for frying is between 350°F and 375°F. If it’s too low, the chicken will soak up too much oil and taste greasy.
If it’s too high, the outside will burn before the inside is cooked. To keep the oil temperature perfect, use a thermometer. This will help you adjust the heat as needed.
Timing Your Fry
Getting the timing right is also important for frying techniques. Chicken tenders usually take 3 to 5 minutes to cook, depending on their size. Fry them in batches to prevent the oil temperature from dropping too much.
Use a meat thermometer to check if the chicken is done. It should reach an internal temperature of 165°F. Take the tenders out of the oil as soon as they’re done to keep them juicy.
By managing the oil temperature and timing your fry, you’ll always get juicy chicken tenders. They’ll have a crispy outside and a tender inside.
Alternative Coating Methods and Ingredients
Looking beyond the usual batter for chicken strips can spark creativity in the kitchen. You might want gluten-free batters, alternative coatings, or a fresh take on healthy chicken strips. There are many choices to explore.
Using gluten-free flour blends like almond, coconut, or chickpea flour is a great option. These flours make a crispy coating without wheat. They also bring a unique taste and are better for those with dietary needs.
For a crunchier texture, try starches like tapioca, arrowroot, or potato starch. They help make a crunchy outside while keeping the inside tender. Adding spice blends, herbs, and seasonings can also give your healthy chicken strips exciting flavors.
| Alternative Coating Ingredient | Benefit |
|---|---|
| Almond Flour | Gluten-free, high in protein and healthy fats |
| Tapioca Starch | Provides a crispy texture, allergen-free |
| Panko Breadcrumbs | Lightweight and airy, creates a crunchy coating |
| Nutritional Yeast | Adds a savory, “cheesy” flavor without dairy |
Trying out these alternative coatings and gluten-free batters can lead to tasty and healthy healthy chicken strips. They suit many diets and tastes.
How to Fix Common Battering Issues When Frying Chicken Strips
How do you get batter to stick to chicken strips? Getting the perfect batter can be tricky, but don’t worry—we’ve got you covered. In this section, we’ll address common battering problems and offer practical solutions. With these tips, your chicken strips will always be crispy, golden, and evenly coated.
Fixing Batter Separation
Batter separation is a big problem. It happens when the coating falls off the chicken while frying. This can be due to not drying the chicken enough or the wrong batter mix. Here’s how to fix it:
- Make sure your chicken is dry before you coat it. Use paper towels to pat it dry.
- Make your batter thicker by adding more flour or cornstarch. This helps it stick better.
- Try using beaten egg or milk to help the batter stick to the chicken.
Dealing with Uneven Coating
Uneven coating can make some strips over-fried and others undercooked. To get a uniform crust, follow these tips:
- Coat the chicken evenly on all sides.
- Use the double-dredging method. Dip the chicken in batter, let it drip, then coat again.
- Keep the oil at the right temperature. Adjust it as needed to avoid hot spots.
| Common Battering Issues | Causes | Solutions |
|---|---|---|
| Batter Separation | Inadequate chicken drying Imbalance in batter ingredients | Thoroughly dry chicken before battering Adjust batter consistency with more flour or binding agents |
| Uneven Coating | Inconsistent dredging Fluctuating oil temperature | Carefully dredge chicken in batter Use double-dredging technique Maintain proper oil temperature |
By tackling these common issues, you’ll get perfect, crispy chicken strips every time. Don’t be afraid to try different things until you find what works best for you.
Storage and Reheating Tips for Battered Chicken Strips
Keeping your battered chicken strips crispy and tasty is key. Whether you have leftovers or want to enjoy them later, these tips will help. They ensure your chicken stays fresh and delicious.
Storing Chicken Strips for Maximum Freshness
To store your battered chicken strips, follow these steps:
- Let the chicken strips cool completely before storing.
- Put them in an airtight container or resealable plastic bag.
- Make sure there’s little air in the container to keep the batter crisp.
- Store it in the fridge for up to 3-4 days.
Reviving Leftover Chicken Strips
When it’s time to enjoy your stored chicken strips, try these reheating methods:
- Oven Reheating: Preheat your oven to 400°F (200°C). Place the chicken strips on a baking sheet. Reheat for 8-10 minutes, flipping halfway, until hot and crispy.
- Air Fryer Reheating: Set your air fryer to 400°F (200°C). Reheat the chicken strips for 4-6 minutes, shaking the basket occasionally, until crispy.
- Microwave Reheating: This method might not keep them as crispy. But, you can reheat the chicken strips in the microwave for 1-2 minutes, checking every 30 seconds, until hot.
By using these storing chicken strips and reheating techniques, you can enjoy your leftover battered chicken strips just like they were freshly made.
“The secret to keeping your battered chicken strips fresh and crispy is all in the storage and reheating methods.”
Conclusion
In this guide, you’ve learned how to get batter to stick to chicken strips using proven techniques. By understanding the science behind batter adhesion and mastering the double-dredging method, you’re equipped to create crispy, golden-brown chicken strips that everyone will love.
The secret to perfect chicken strips lies in the details and a willingness to experiment. Try different batters, coatings, and frying methods to achieve your favorite flavor and texture. Customizing your recipes helps you discover new tastes while perfecting that signature crispy coating.
Keep exploring creative ways to cook in the kitchen. With the tips and tricks shared here, you’re on your way to mastering how to get batter to stick to chicken strips like a pro. Enjoy the process, savor the results, and share your skills with friends and family who love great fried chicken.
FAQ
How do you keep chicken tenders juicy when frying?
To keep chicken tenders juicy, control the oil temperature and fry time. Keep the oil between 350-375°F. Don’t overcrowd the pan to avoid lowering the temperature.
Fry the chicken for 3-5 minutes until it’s golden brown. Let it rest for a few minutes after frying. This helps keep the juices in.
What are some tips for achieving the perfect batter consistency?
For the perfect batter, focus on the wet-to-dry ingredient ratio and temperature. Balance wet (like milk) and dry (flour, cornstarch) ingredients. Keep the batter chilled to maintain thickness and prevent it from getting too thin.
How can I ensure the batter sticks to the chicken strips?
To get the batter to stick, prepare the chicken well before coating. Clean and dry the chicken, and consider brining or marinating it. This helps the batter adhere better.
When battering, use a gentle technique. Let the batter rest on the chicken for a few minutes before frying. Double-dredging can also help for a crisper coating.
What are some common battering mistakes to avoid?
Avoid common mistakes like inconsistent batter and over-mixing. Also, frying at the wrong temperature and overcrowding the pan are big no-nos. Not drying the chicken or using cold meat can also cause issues.
How can I store and reheat battered chicken strips?
For storing, cool the battered chicken completely. Then, put it in an airtight container or bag and refrigerate for 3-4 days. To reheat, preheat your oven to 400°F.
Place the chicken on a baking sheet and bake for 8-10 minutes, flipping halfway. This will make it crispy again. Don’t reheat in the microwave, as it can make the coating soggy.


One Comment