How Long Do Chicken Tenders Take to Fry? A Comprehensive Guide

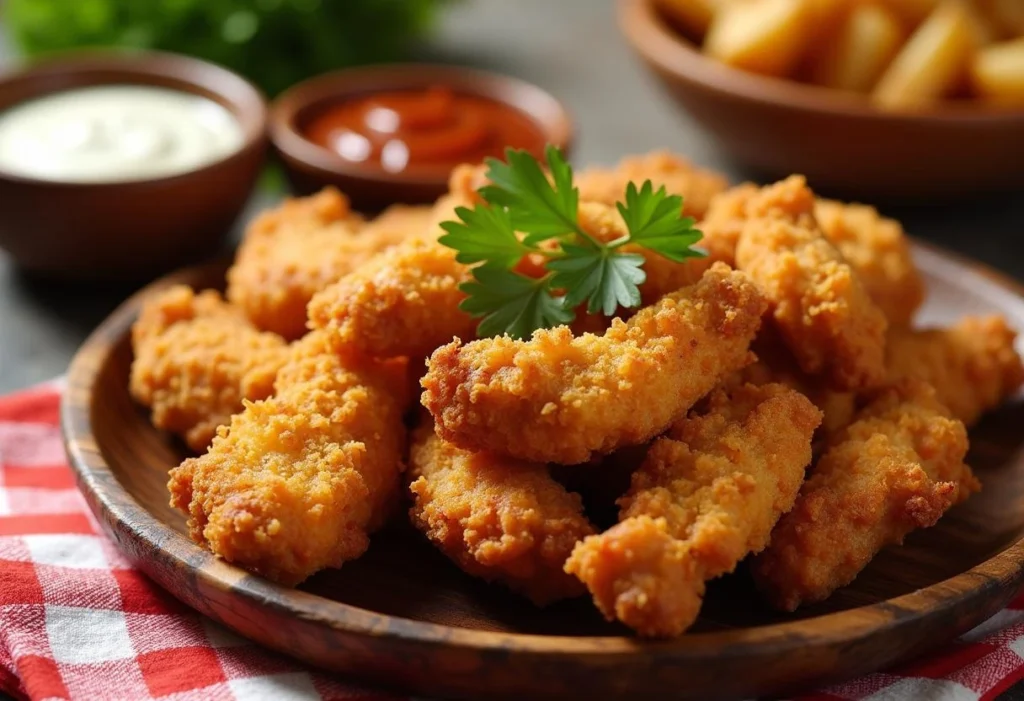
When cooking chicken tenders, the frying time is crucial to achieving crispy, juicy, and perfectly cooked results. Frying time can vary depending on factors such as the frying method, oil temperature, and tender thickness. In this detailed guide, you’ll learn the exact frying times for different methods, essential tips for success, and how to achieve crispy and tender perfection.
Why Frying Time Matters for Chicken Tenders
The frying time directly impacts the texture, flavor, and doneness of chicken tenders. If cooked too quickly, they may be raw inside, while over-frying can make them dry and tough. Finding the right balance ensures your chicken tenders are crispy on the outside and juicy on the inside.
Key Factors That Affect Frying Time for Chicken Tenders
When frying chicken tenders, several important factors influence how long they take to cook. Understanding these elements ensures perfectly crispy and juicy tenders every time. Let’s explore the key factors that can impact frying time and how to adjust for the best results.
1. Thickness and Size of Chicken Tenders
- Why It Matters: Thicker and larger chicken tenders require more time to cook through. Thinner strips cook faster but can easily become dry if overcooked.
- How to Adjust: Try to cut chicken tenders into even sizes for consistent cooking. If using pre-cut tenders, choose similar-sized pieces to avoid uneven results.
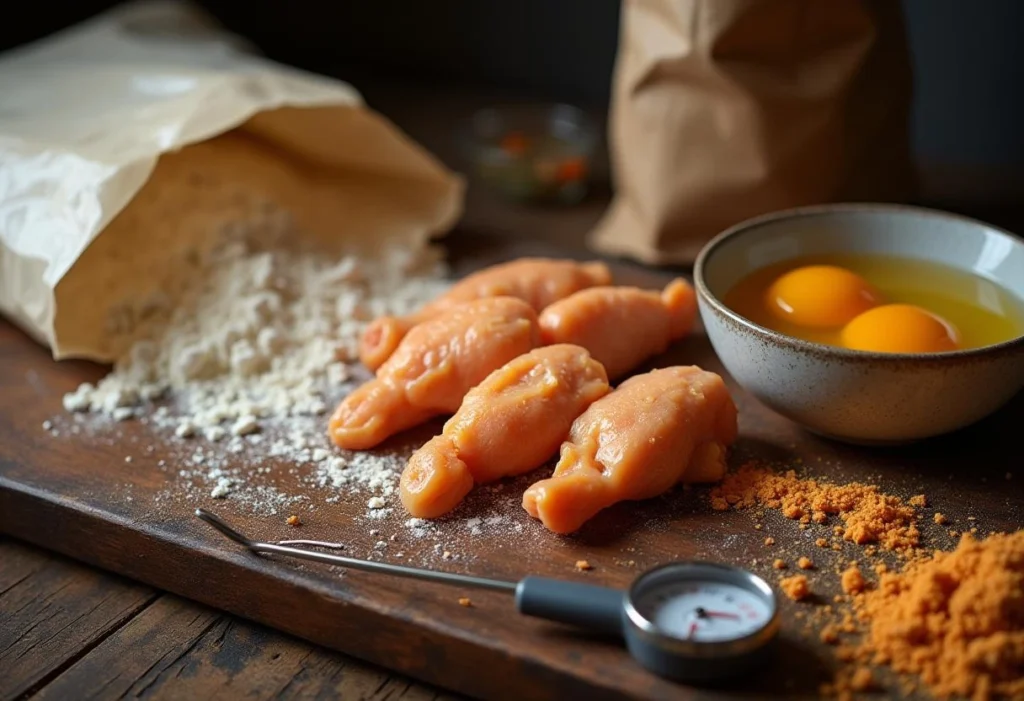
Pro Tip: Always use a meat thermometer to check that the internal temperature of the chicken tenders reaches 165°F (75°C). This step ensures that the chicken is fully cooked, eliminating any risk of undercooked meat while keeping the tenders juicy and safe to eat. By monitoring the temperature carefully, you’ll achieve perfectly cooked chicken every time.
2. Frying Method Used
- Why It Matters: Different frying methods have varying cooking times due to how heat is distributed.
- Deep-Frying: Fastest method, taking 6-8 minutes due to full oil immersion.
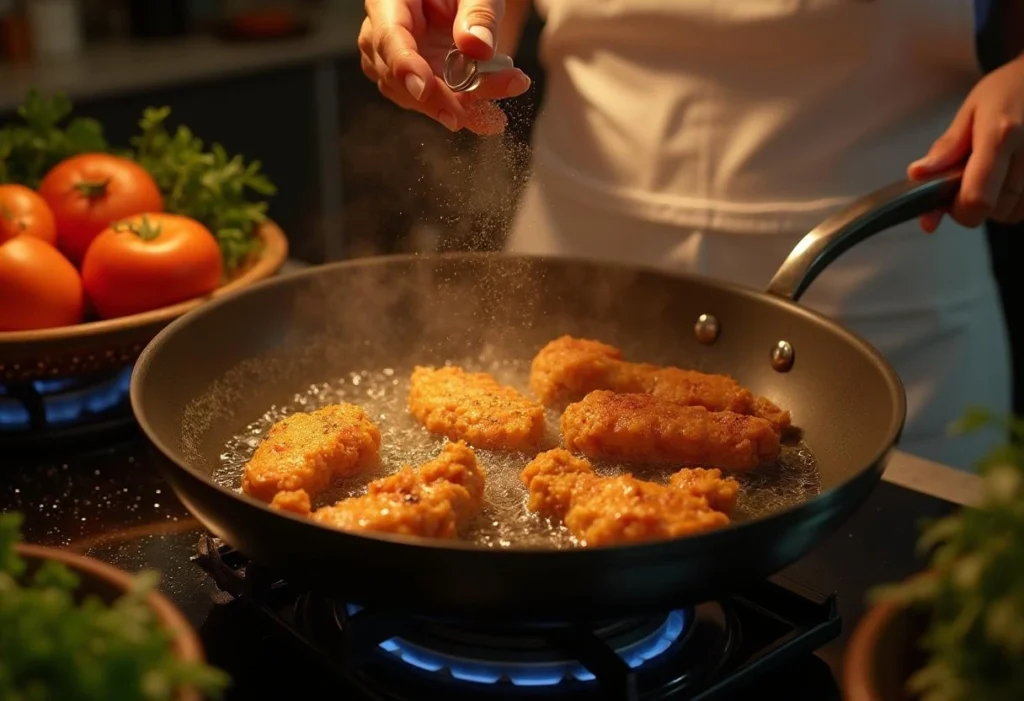
- Pan-Frying: Takes 3-4 minutes per side since only half the tender is submerged.
- Air-Frying: A healthier method, requiring 12-15 minutes with less oil but slightly longer cooking time.
Tip: Choose the method that best fits your available time and desired crispiness level.
3. Oil Temperature
- Why It Matters: Correct oil temperature ensures even cooking while maintaining a crispy exterior. If the oil is too hot, the outside will burn while the inside stays raw. If it’s too cool, the chicken will absorb excess oil, making it greasy.
- Ideal Temperature: 350°F – 375°F (175°C – 190°C) for frying.
Tip: Use a cooking thermometer to monitor the oil and adjust the heat as needed throughout frying.
4. Batch Size and Overcrowding
- Why It Matters: Overcrowding the fryer or skillet significantly lowers the oil temperature, resulting in uneven cooking and potentially causing soggy chicken. Maintaining proper spacing ensures the tenders fry evenly, developing a crispy, golden-brown crust.
- How to Adjust: Fry chicken tenders in small batches, allowing enough room for hot air or oil to circulate around each piece. By doing this, you’ll maintain the correct frying temperature and achieve consistently crispy results.
Pro Tip: After each batch, let the oil reheat to the optimal temperature before adding more tenders.
5. Starting Temperature of Chicken
- Why It Matters: Cold chicken straight from the refrigerator takes longer to fry and can cause the oil temperature to drop quickly.
- How to Adjust: Let chicken tenders rest at room temperature for 15-20 minutes before frying for even cooking and consistent results.
Essential Tools for Frying Chicken Tenders
To achieve perfectly crispy and juicy fried chicken tenders, having the right tools is just as important as following the recipe. The proper equipment ensures even cooking, reduces mess, and makes the frying process much more efficient. Let’s take a closer look at the essential tools you’ll need when frying chicken tenders.

1. Frying Pan or Skillet
- Why It’s Important: Using a heavy-bottomed frying pan or cast-iron skillet ensures even heat distribution, allowing for consistent frying while reducing the risk of burning the chicken tenders. Additionally, these pans retain heat well, helping to maintain the proper frying temperature throughout the cooking process.
- Recommended Type: Opt for a cast-iron or stainless-steel pan with deep sides to contain oil splatters, keeping your cooking area cleaner while providing ample space for frying multiple tenders at once. By choosing the right pan, you’ll achieve perfectly crispy, golden-brown chicken every time.
Pro Tip: Use a non-stick skillet if you want easy cleanup without sacrificing crispiness.
2. Deep Fryer or Air Fryer
- Why It’s Important: Using the right equipment is essential for achieving the best frying results. A dedicated deep fryer ensures precise oil temperature control, allowing for even cooking and a perfectly crispy coating. On the other hand, an air fryer offers a healthier, oil-free alternative, producing similar crispy results while reducing excess grease.
- Best Option: Choose a deep fryer with a built-in thermostat for consistent heat regulation or, for a healthier option, opt for an air fryer with a large basket to accommodate batch cooking and ensure even air circulation.
Related Tip: Learn more about air fryer chicken recipes in Chicken Fries in the Air Fryer.
3. Cooking Thermometer
- Why It’s Important: Consistently monitoring the oil temperature is essential for achieving crispy, golden-brown tenders while preventing undercooking or burning. Maintaining the right temperature ensures even cooking and locks in moisture, resulting in perfectly fried chicken tenders.
- Recommended Type: Use a digital thermometer or a deep-fry thermometer for precise temperature control and accurate readings throughout the frying process. By doing so, you’ll avoid temperature drops and ensure consistently great results.
Ideal Temperature: Keep the oil between 350°F and 375°F (175°C – 190°C) for optimal frying.
4. Tongs or Slotted Spoon
- Why It’s Important: Tongs or a slotted spoon let you safely flip and remove chicken tenders from the oil while minimizing oil splatters.
- Recommended Type: Stainless-steel tongs with heat-resistant grips for a secure hold.
Pro Tip: Avoid using plastic tongs as they may melt under high heat.
5. Wire Rack for Cooling
- Why It’s Important: Placing fried chicken tenders on a wire rack prevents sogginess by allowing excess oil to drip off. This method ensures that the tenders remain crispy and retain their golden-brown texture instead of sitting in oil and becoming greasy.
- Best Practice: Use a wire rack placed over a baking sheet to catch oil drips and keep your counter clean. By doing so, you’ll create a mess-free frying station while ensuring the best possible texture for your chicken tenders.
6. Mixing Bowls for Breading Station
- Why It’s Important: Separate mixing bowls make setting up a dredging station easier when coating the tenders with flour, eggs, and breadcrumbs.
- Recommended Setup: Use wide, shallow bowls or baking dishes for easy dipping.
Pro Tip: Use one hand for wet ingredients and the other for dry ingredients to prevent messy hands while breading.
7. Baking Sheet or Parchment Paper
- Why It’s Important: A baking sheet lined with parchment paper helps when preparing tenders in batches or letting them rest after breading.
- Tip: Use a rimmed baking sheet to contain any spills and keep your prep station organized.
8. Oil Splatter Guard (Optional)
- Why It’s Important: Frying can get messy, especially when using a shallow frying pan. An oil splatter guard minimizes oil splatters while still allowing steam to escape.
Pro Tip: Choose a splatter guard that fits your frying pan or skillet for the best coverage.
How Long to Fry Chicken Tenders: Methods & Cooking Times
1. Deep-Frying Chicken Tenders
Why Deep-Fry?
Deep-frying quickly produces crispy, golden-brown chicken tenders within minutes, making it an efficient method for achieving a perfectly crunchy exterior. Additionally, the full oil immersion ensures even cooking, sealing in the juices for tender, flavorful chicken every time.
Best Oil Temperature for Deep Frying:
- Temperature: 350°F – 375°F (175°C – 190°C).
- Why It’s Important: This prevents undercooking or burning.

Frying Time:
- Cook for 6-8 minutes or until golden brown and fully cooked.
- Check the Internal Temperature: Ensure the tenders reach 165°F (75°C) for food safety.
Pro Tip: Use a slotted spoon to remove tenders and place them on a wire rack to maintain crispiness.
2. Pan-Frying Chicken Tenders
Why Pan-Fry?
Pan-frying is ideal for small batches because it creates crispy, flavorful tenders with a golden-brown crust. Moreover, this method allows for better control over cooking time and browning, resulting in evenly cooked, delicious chicken tenders with minimal effort.
Best Oil for Pan-Frying:
- Use oils with high smoke points like canola oil, vegetable oil, or peanut oil.
Frying Time:
- Cooking Time: 3-4 minutes per side over medium heat.
- How to Flip: Use tongs to flip tenders halfway through for even cooking.
Pro Tip: Ensure oil covers at least half of the chicken’s thickness for even browning.
3. Air-Frying Chicken Tenders
Why Air-Fry?
Air-frying is a healthier alternative, producing crispy tenders with less oil.
Best Air Fryer Temperature:
- Temperature: 400°F (200°C).
Frying Time:
- Cooking Time: 12-15 minutes, flipping halfway through for even cooking.
Pro Tip: Spray the tenders lightly with oil before cooking for maximum crispiness.
Related Tip: Learn more about cooking chicken safely in Can I Put Raw Chicken in My Air Fryer?.
4. Oven-Baking Chicken Tenders (Optional)
Why Bake?
Oven-baking is a healthier and hands-free cooking method that still produces crispy tenders with minimal oil, making it an excellent alternative to traditional frying. Additionally, it allows for easier cleanup and reduces excess grease, while still delivering delicious, golden-brown chicken tenders.
Best Baking Temperature:
- Temperature: 425°F (220°C).
Frying Time:
- Cooking Time: 18-20 minutes, flipping halfway through.
Pro Tip: Use a wire rack over a baking sheet to allow air circulation for even cooking.

Tips to Ensure Proper Frying Time
Achieving perfectly fried chicken tenders requires attention to detail. Follow these expert tips for crispy, flavorful results:
1. Monitor Oil Temperature
- Use a cooking thermometer to maintain oil between 350°F and 375°F (175°C – 190°C).
- Avoid adding too many tenders at once, which can lower the oil temperature.
2. Check Internal Temperature
- Always use a meat thermometer to check that the internal temperature of chicken tenders reaches 165°F (75°C). This ensures the chicken is fully cooked and safe to eat while retaining its juiciness and tenderness. Monitoring the temperature prevents undercooking and guarantees food safety for you and your family.
3. Cook in Batches
- It’s crucial to fry tenders in small batches because overcrowding the pan can significantly lower the oil temperature, which in turn causes uneven cooking and extends the frying time. As a result, cooking in smaller portions helps maintain consistent heat, thereby ensuring the tenders turn out crispy, golden brown, and perfectly cooked.
4. Use a Timer
- To ensure perfectly cooked chicken tenders, set a timer to track the cooking time accurately. This helps prevent overcooking or burning, ensuring the tenders remain juicy on the inside while achieving a crispy, golden-brown exterior. Keeping a timer handy also allows for better multitasking in the kitchen.
Storage and Reheating Tips for Chicken Tenders
To ensure the best taste and texture, using proper storage and reheating methods is essential for maintaining the crispiness and flavor of chicken tenders. By following the right techniques, you can enjoy delicious, freshly-tasting tenders even after they’ve been stored or reheated.
Refrigeration:
- Store leftovers in an airtight container in the refrigerator for up to 4 days.
Freezing:
- Freeze cooked tenders on a baking sheet, then transfer to a freezer-safe bag for up to 3 months.
Reheating Tips:
- Skillet: Reheat over medium heat for 3-4 minutes per side.
- Oven: Reheat at 375°F (190°C) for 10-12 minutes.
- Air Fryer: Reheat at 380°F (195°C) for 5-7 minutes, flipping halfway through.
Conclusion: How Long Do Chicken Tenders Take to Fry?
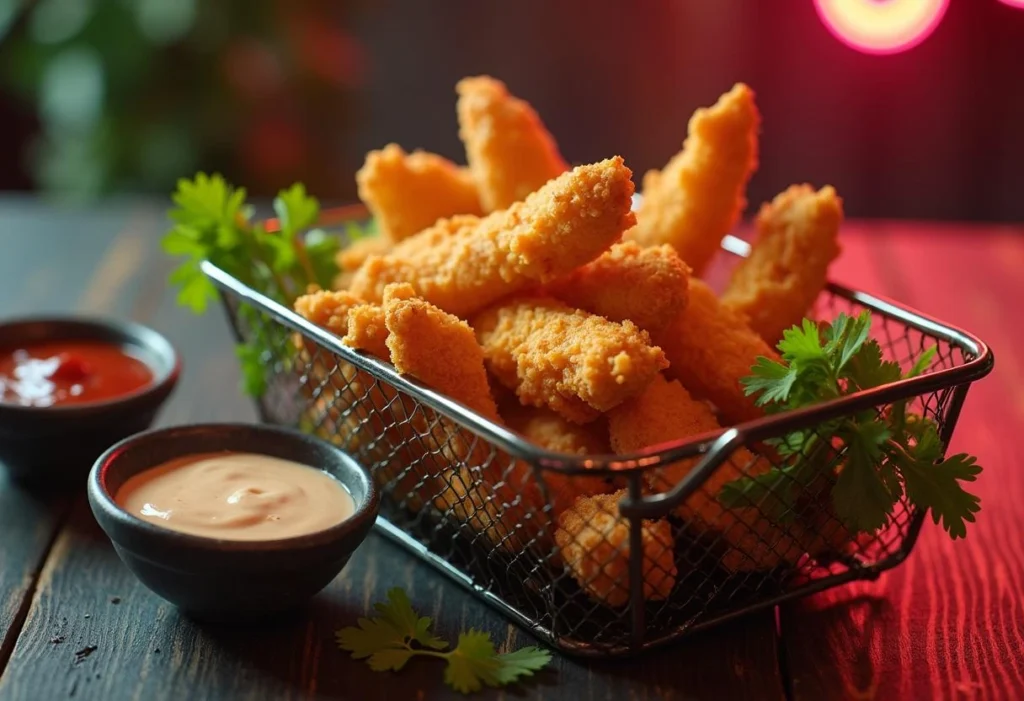
Frying chicken tenders to crispy perfection doesn’t have to be complicated when you understand the right techniques and cooking times. By keeping factors like tender thickness, oil temperature, and frying method in mind, you’ll consistently achieve golden, juicy, and flavorful results.
Whether you’re deep-frying for quick, crispy tenders or using an air fryer for a healthier option, knowing how long do chicken tenders take to fry ensures a delicious outcome every time. Be sure to use a meat thermometer, cook in small batches, and follow proper storage and reheating tips to enjoy perfectly cooked tenders anytime.
With these expert tips and recommended tools, you’ll master frying chicken tenders like a pro. So, next time you’re craving a crispy, savory meal, you’ll know exactly how to fry chicken tenders to golden perfection. Happy frying! 🍗🔥


One Comment